Instagram is an awesome platform for small business owners wanting to connect with existing and potential customers. But creating a regular stream of high-quality content to post can be time-consuming. Luckily, you can use a scheduler (like Tailwind) to streamline the process.
In this article, I will talk to you about how I save hours using Tailwind for Instagram. It took me a bit of time to figure out a system that worked for me, but now that I have one, my life is a lot easier! I can schedule over a month of content in just a few hours and ensure that my feed will be visually attractive and brand-aligned.
Disclaimer: This post may contain affiliate links. This means that I get a small referral fee if you purchase a product or service through my links. There is no additional cost to you!
What is Tailwind for Instagram?
First things first: if you haven’t heard about Tailwind before, let me tell you a bit about it.
Tailwind is an Instagram scheduler that allows you to create and plan your content using a drag and drop visual planner.
In their own words, they are: “The smart Instagram assistant that enables anyone to confidently create scroll-stopping posts.”
What I like about Tailwind for Instagram
Here’s a summary of the things that I like about Tailwind for Instagram:
Time saver: The most obvious benefit of using Tailwind is that it saves me a lot of time. I normally put time aside a day each month to plan my Instagram content and then I can forget about it for the rest of the month.
Drag and drop grid: The simple drag and drop system allows me to move around my posts easily to create an ideal look and a content mix. It is also fun to use!
Visual planner: I am a visual person so I really like being able to preview what the content is going to look like in my feed.
Hashtag research: Tailwind has a built-in tool that allows me to research hashtags that I can use to maximise exposure for my listings. I have lists of hashtags saved which makes them easy to reuse in future posts.
Hashtag in comments: I can also post my hashtags in the first comment just by ticking a box!
Optimal post times: Tailwind recommends me when it is the best time to post by analysing when my audience is more active.
Official Instagram partner: Tailwind is an official Instagram partner, which gives me peace of mind that my account is secure!
My Tailwind for Instagram scheduling system
Like I mentioned before, I like setting aside a few hours at the beginning of each month to batch create my content.
I will talk you through the exact process I follow below. And of course, this is what works for me! It took me a bit of trial and error to figure out what was the best way to use Tailwind for my business, so I suggest that you take the below as a rough guideline only and adapt it to suit your personal style and needs.
This is the process I follow each time:
1 – Get the images ready
2 – Upload them into Tailwind
3 – Write the captions directly on Tailwind
4 – Move around posts using the visual planner to create the ideal look and content mix
5 – Schedule stories
Continue reading for more details on each step!
Step 1: Get the images ready
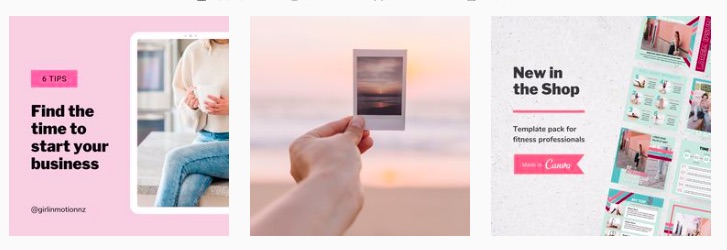
I normally start by creating all my images. I use a “checkerboard” Instagram grid design, so this means that I need to collate a combination of photos and template-based images:
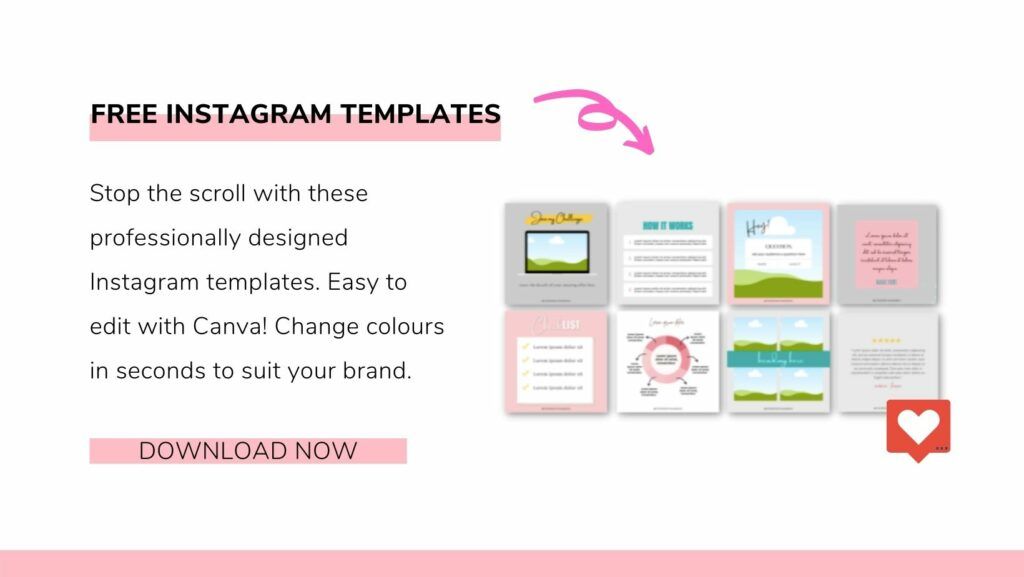
If you’ve been following me for a while, you will know that I am a huge fan of Canva. So I create my template images this way.
I have a whole lot of templates set up with my brand colours and fonts, so all I need to do is choose the most suitable option for each post. Then I change the placeholder text (and add an image if needed) and voila! My image is ready.
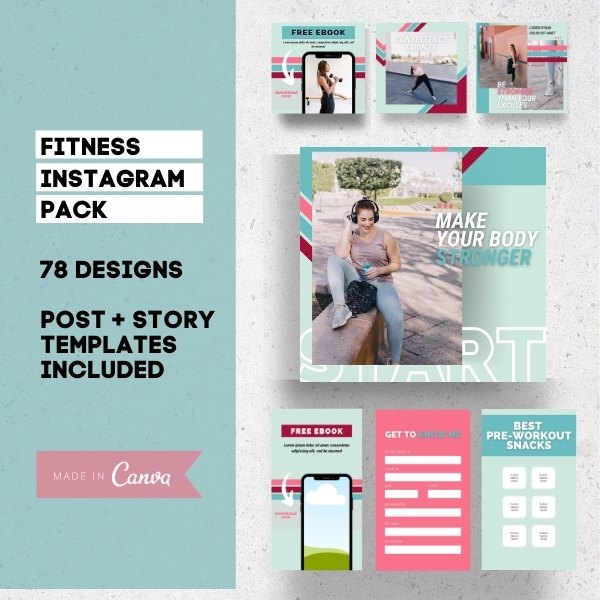
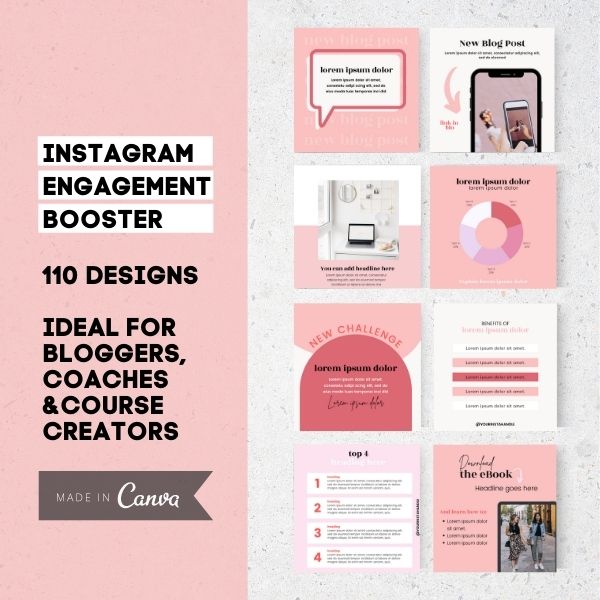
Have a look in my shop if you want to buy some Instagram posts for your business.
My Instagram post categories
Each month, I create posts within these categories each month, so I go through each category and create/select images for each of them:
Blog content
For me, it all starts with my blog content. I create 1 blog post a week, and I use that content to be the base of my Instagram posts for the next few weeks. I aim to create 2-3 Instagram posts per blog post.
Since my blog posts are normally over 1000 words, I find it quite easy to split them into bite-sized bits of content to share on Instagram.
If you need more info about how to repurpose blog content for social media, you can read this article.
I normally I create about 6 single image template posts for my blogs, using a range of designs and then 1-2 in-depth carousel (a post with more than 1 image)
Product content
I create about 2-3 posts to promote my products every month. Once again, I use a combination of single image and carousel template posts.

Inspirational quotes
I like to share inspirational quotes as part of my content mix. Since my target audience is female entrepreneurs, these relate to starting a business, overcoming fear, the importance of taking action, positive mindset, and so on.
I normally write down quotes that I like as I come across them during the month, so I will have a bunch of them ready when it’s time to create my content. Otherwise, I have a look at Pinterest for inspiration.
Most of the time I create template-based images for these, but I occasionally use stock photos as well.
Personal photos
Social media is all about person-to-person contact, so it is important for me to show my face and snapshots of my life on my feed.
So every month I take photos of myself and things that I do and save them in a folder to use when it is time to schedule my posts.
Stock photos
Every month I share some stock photos as well. I have a folder with a selection of photos ready to use, so all I need to do is select the most suitable ones for the post I want to create.
Pro tip: You can also add stock photos from Unsplash directly into your Tailwind scheduler. This is also a great option that saves you heaps of time.
STEP 2: Uploading Images into Tailwind
Once I have my images ready, I batch upload them all into Tailwind. To do this, I simply drag and drop them into the uploader
This adds them into my account as a “draft”.
STEP 3: Writing the captions
Once I have all the images uploaded into Tailwind, it is time for me to write the captions! I normally write these directly in Tailwind.
I simply go through the images one by one and start writing the copy. I like writing a combination of long and short captions, to keep things varied.
RELATED: If you want some tips on how to write a good Instagram caption, check out this article.

Hashtags
I make sure to include relevant hashtags on each caption. I use Tailwind’s amazing hashtag tools for this – they allow me to do hashtag research, save hashtag lists to use in future posts, and post the hashtags in the first comment to keep my caption looking clean.
STEP 4: Scheduling with Tailwind
Once I have all the posts ready (image and caption), it is time to schedule using Tailwind!
I normally end up with about 14-16 images, which is more than I need each month for my content frequency (which is 3 times a week). But that’s ok! If I have any “leftover” images after finishing my scheduling for the month, then I just leave them sitting as “drafts” and I will use them the following month.
Now, this is the fun part!
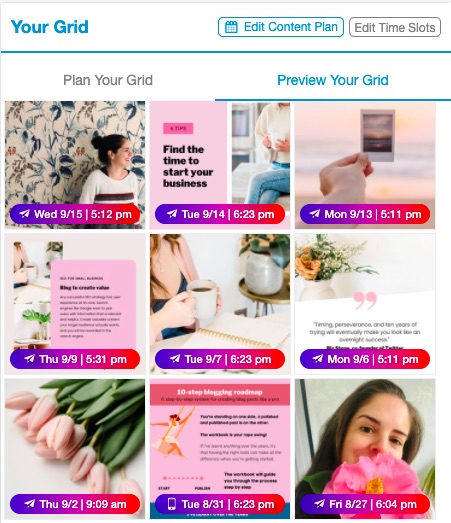
Tailwind has automatically created a grid with optimised posting times, so all I need to do is select the day when I want each post to be published.
Then using Tailwind’s drag and drop grid, I have a play with moving my posts around to come up with an ideal content mix that is also visually attractive.
And this is what I really love about Tailwind – because it is a visual planner it allows me to preview how my images will look next to each other in my feed.
So using the visual planner, I move around posts so that:
1 – There is a good variety of content: I like to follow (roughly) the 80/20 content rule, so that most of my content provides lots of amazing value to my followers, and only 20% of content has the goal of selling. I also make sure there is a good variety of posts that educate, entertain and inspire my audience. I like to keep my content varied!
2 – The images look nice when posted next to each other, creating a cohesive and beautiful feed.
The result looks something like this:
You can learn more about Tailwind’s visual planner here.
STEP 5: Schedule Instagram Stories
Once I have all my Instagram posts scheduled, I move on to Stories. I normally publish about 7-10 stories every week.
I like to schedule 3 stories every week in advance using Tailwind and the rest I will do “real-time” using the Instagram phone app.
So using Tailwind, I schedule 1 story promoting the blog post that I will publish that week and 2 stories promoting products.
Note: Scheduling a story via Tailwind will not automatically publish a story for you. Tailwind will send a notification to your phone when it’s time to post and prompt you to finish off the posting using the Instagram app
Before you start using Tailwind
If you want to give Tailwind a go, you should take advantage of their free trial. You really have nothing to lose! I think you will love it, but if you don’t you can just cancel your account before the trial ends without spending any money. It is totally risk-free.
I recommend that you spend a bit of time figuring out the below before you start your trial:
1 – Decide the look and feel that you want for your Instagram feed
What colours are you going to use? What type of images will you share? How do you want people to feel when they look at your feed?
2 – Choose a grid layout
I like using a “checkerboard” grid by combining photo and template-based images. But there are a whole lot of other styles that you can try. Choose a look that suits your brand.
3 – Choose a posting frequency
I post about 3 times a week on my feed and about 10 times a week on Instagram stories. Having this schedule in mind allows me to organise my posts and remain consistent.
4 – Get some Canva templates ready
Tailwind has a built-in image post designer called Tailwind Create, but I like to create my post images using Canva. I recommend that you get a Canva Instagram template pack and spend some time getting them ready for your business (changing fonts and colours to match your brand)
If you are new to Canva, here are some resources to get you up to speed:
- What is Canva and how it can help your business
- How to use Canva to create social media images in seconds
You can also have a look at my shop to buy your template pack.
I can’t talk about Tailwind create because I haven’t used it before, but if you want to explore this option, you can learn more about it here.
How much does it cost to use Tailwind for Instagram?
Tailwind offers a 30-day free trial, and then it costs $9.99 a month or $119.88 a year if paid annually. In my opinion, that is a small price to pay, considering all the time it saves me and the amazing features it offers!
Final Thoughts on Tailwind for Instagram
Hope you enjoyed reading about how I save heaps of time using Tailwind for Instagram. Putting aside time at the beginning of each month to batch create and schedule my posts works for me, but the secret to consistency is to find a system that works for you and your business.
And, of course, allow room for flexibility! Some months will be different from others, so I always give myself room to adapt as needed.

Try Tailwind for Instagram for Free
You can try all the amazing features I’ve talked about in this article yourself: Get a free trial of Tailwind for Instagram.
Want more tips and inspiration? Read these articles:
Latest blog posts